Mastering the Art of Using Pickling Salt 🥒
Mastering the Art of Using Pickling Salt
Pickling is a time-honored tradition that allows us to preserve and savor the flavors of fresh fruits and vegetables all year round. One key ingredient in the pickling process is pickling salt. In this step-by-step guide, we will explore the art of using pickling salt and how it can enhance your pickling experience.
Step 1: Choosing Your Produce
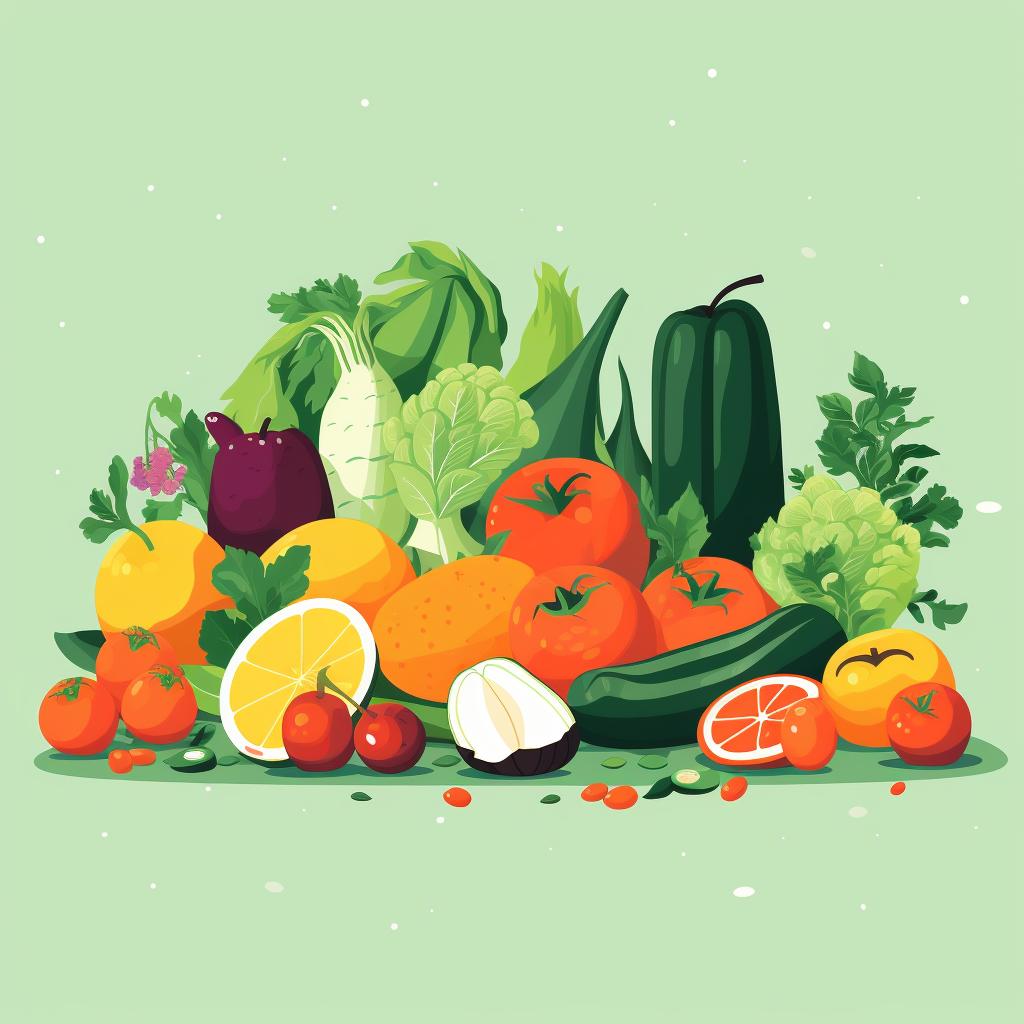
To create the best pickled items, it is essential to start with fresh, high-quality fruits or vegetables. The quality of your produce will directly impact the taste of your pickled creations. So, take the time to carefully select the best ingredients for your pickling adventure.
Step 2: Preparing the Brine
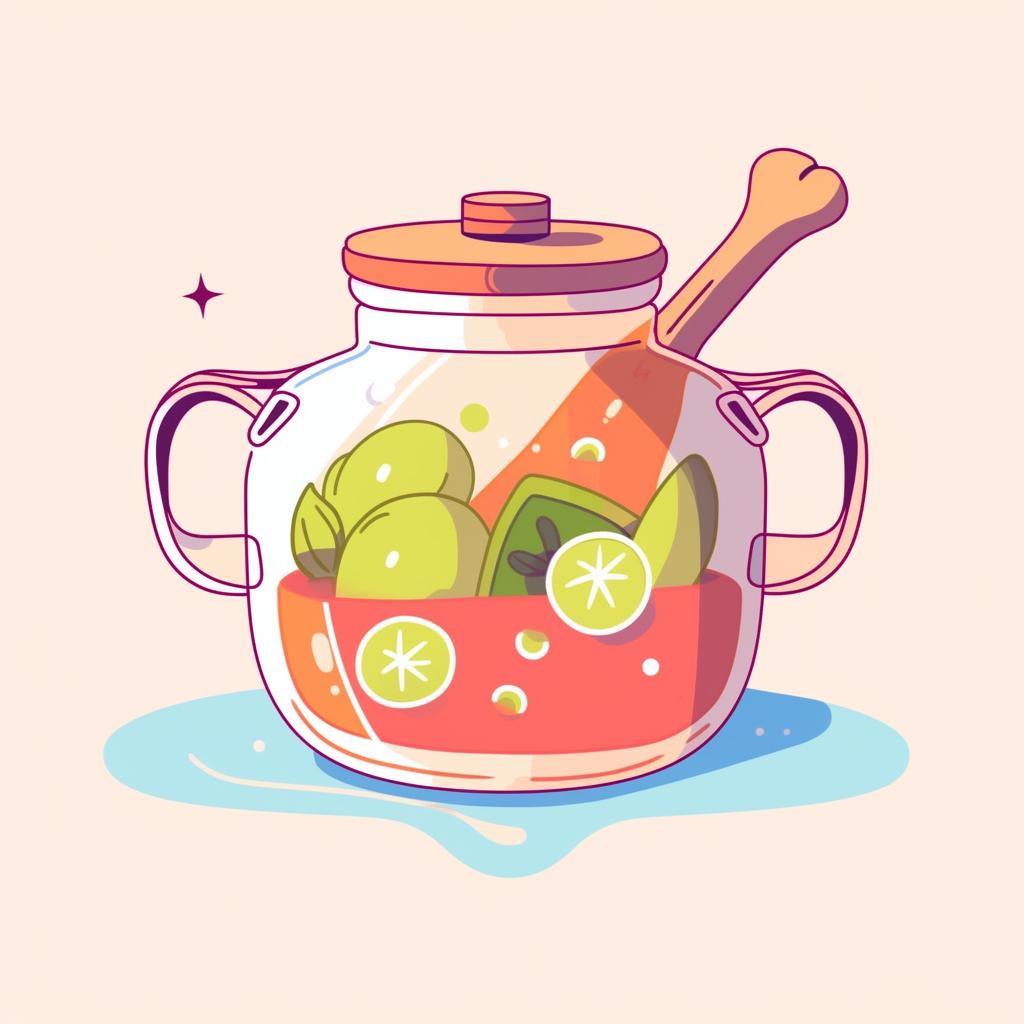
The next step in pickling is preparing the brine. In a pot, combine water, vinegar, and pickling salt. The general rule of thumb is to use 1 cup of pickling salt for every 3 quarts of water and 1 quart of vinegar. However, keep in mind that this ratio can vary depending on the type of produce you're pickling. Experimentation is part of the fun!
Step 3: Heating the Brine
Heat the brine mixture over medium heat until the pickling salt is completely dissolved. Stir occasionally to ensure even heat distribution. Heating the brine helps to infuse the flavors and ensures that the pickling salt is fully incorporated.
Step 4: Preparing Your Produce
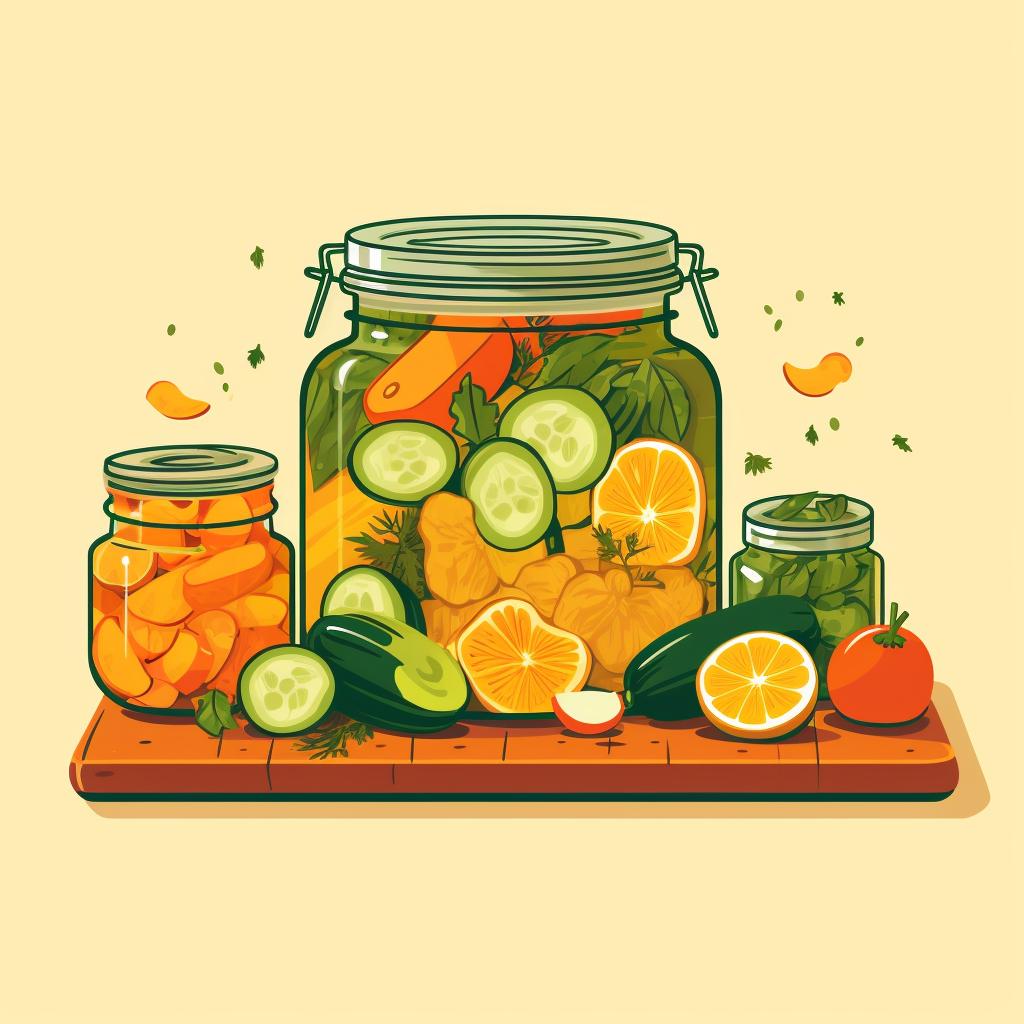
While the brine is heating, take the time to prepare your produce. This may involve washing, peeling, slicing, or dicing, depending on the type of produce and your preference. Proper preparation ensures that your pickled items have the desired texture and consistency.
Step 5: Packing Your Jars
Once your produce is prepared, it's time to pack them into clean, sterilized jars. Make sure to leave enough headspace for the brine. This step is crucial for proper pickling and ensures that the flavors are evenly distributed.
Step 6: Pouring the Brine
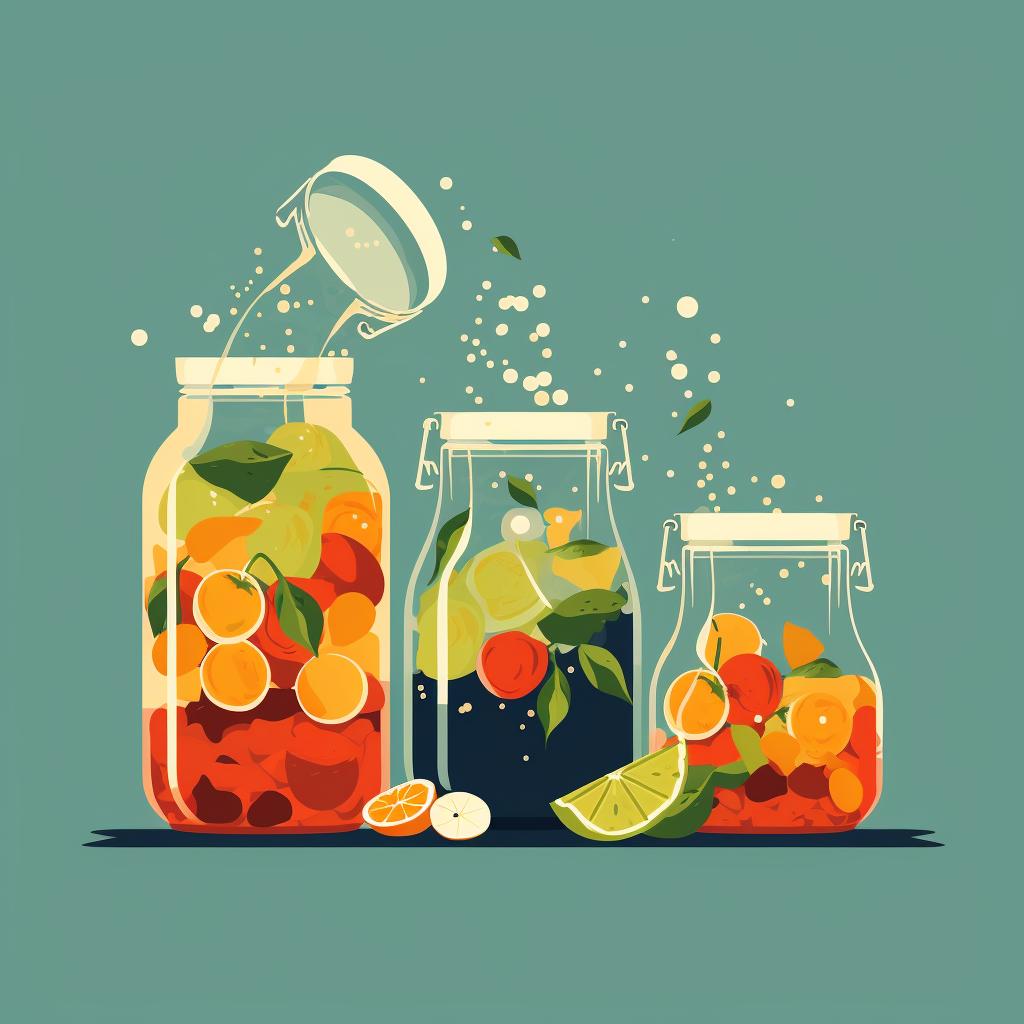
With your produce packed in the jars, it's time to pour the hot brine over them. Make sure the produce is fully covered by the brine. This step allows the flavors to meld together and creates the signature tanginess of pickled items.
Step 7: Sealing and Storing
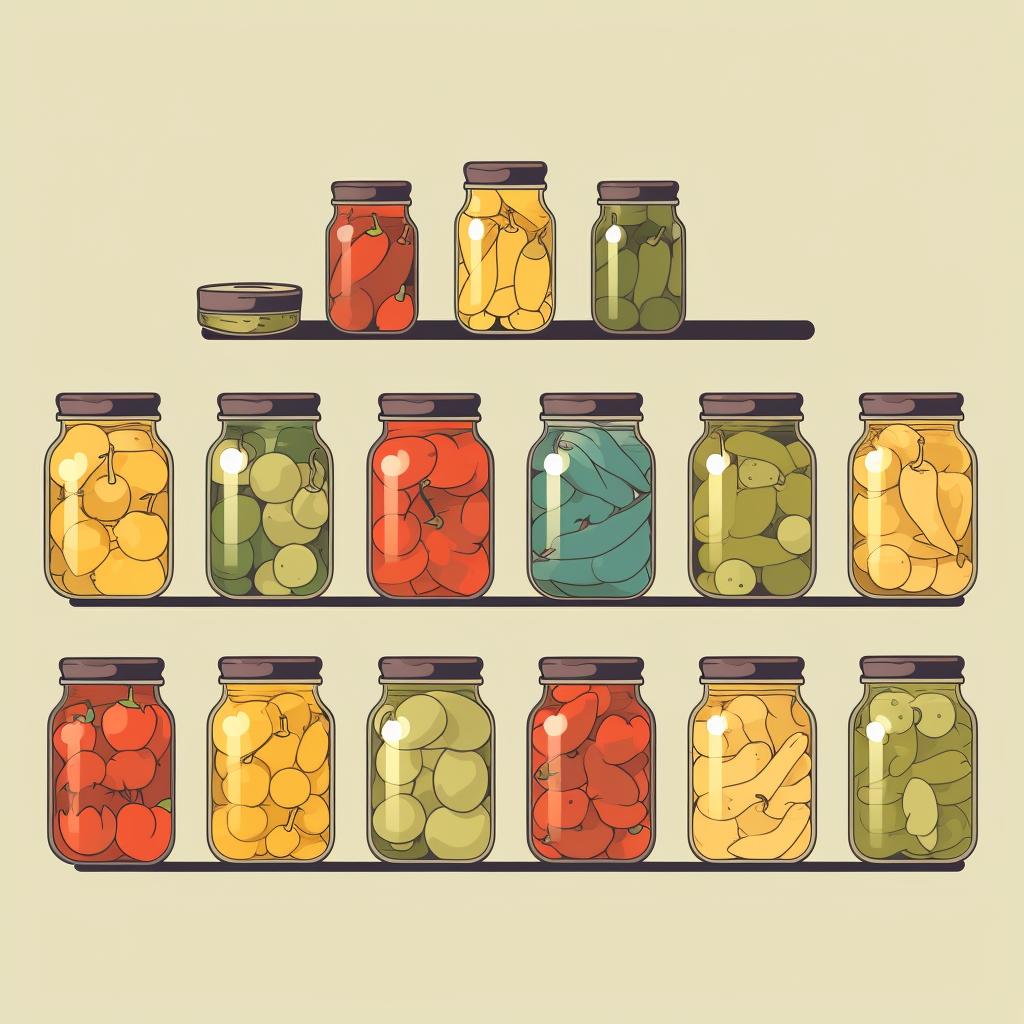
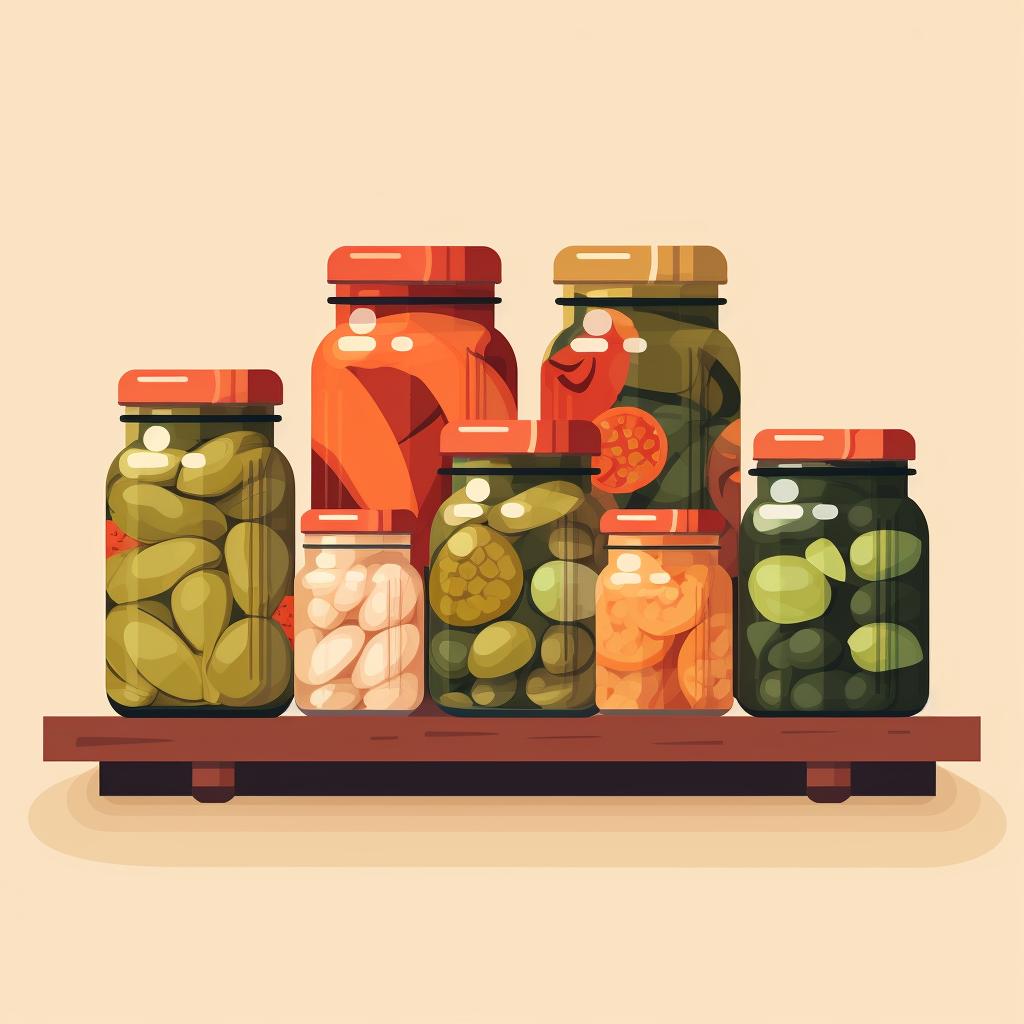
The final step is to seal the jars tightly and store them in a cool, dark place. The pickling process takes time, usually a few weeks, for the flavors to develop fully. Patience is key here, as the wait will be worth it when you taste the delicious results of your pickling endeavors.
In conclusion, using pickling salt is an essential part of the pickling process. By following these steps, you can master the art of pickling and create flavorful, tangy pickled items that will delight your taste buds. So, gather your fresh produce, pickling salt, and jars, and embark on your pickling journey today!

